I’m not the biggest fan of pumpkin, but this blog begs to differ.
I’ve made pumpkin bread.
Pumpkin chocolate chip cakies.
And pumpkin sweetie pies.
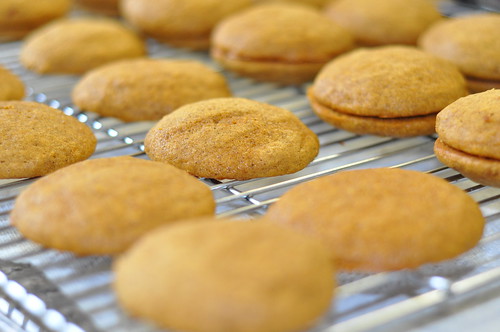
And now I’m makin’ whoopie. That is, pumpkin whoopie pies. And in the process, I learned a few very important lessons.
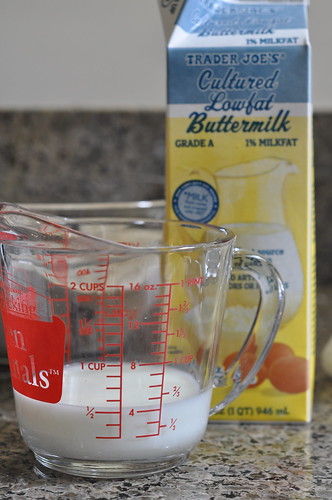
1. Buttermilk stinks. It smells like milk that’s gone bad, and it seems like you shouldn’t use it. But so far there have been no casualties reported as a result of whoopie consumption, so apparently it’s okay.
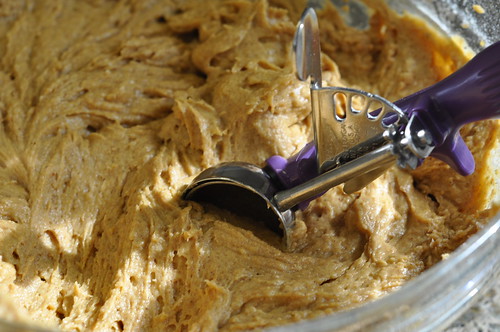
2. The #40 cookie scoop is where it’s at. If you don’t have one, scoop one up. (Get it? “Scoop” one up?!)
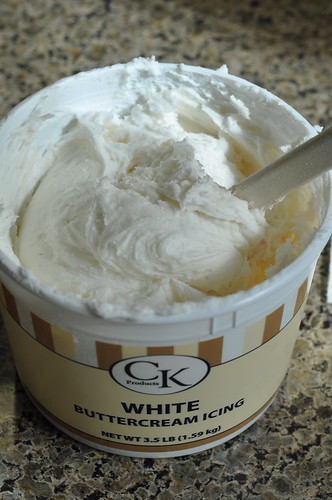
3. When you’re at the kitchen supply store looking for a #40 cookie scoop, and you happen across THIS…
… you should probably buy it. That’s right, three and a half pounds of icing.
Put it in the pantry next to your other staples. You never know when the mood might strike you to bake and frost a five-tier wedding cake.
So get yourself a #40 cookie scoop, hold your nose while you pour the buttermilk, and start makin’ whoopie. Lifetime supply of buttercream frosting optional. A homemade cream cheese frosting (recipe included) will also work.
PUMPKIN WHOOPIE PIES (pdf)
Adapted from a recipe I found online (but I can’t remember where!)
- 2 3/4 C flour
- 4 1/2 tsp ground cinnamon
- 2 tsp baking powder
- 1 1/2 tsp ground nutmeg
- 1 1/2 tsp ground ginger
- 1 tsp baking soda
- 1 tsp salt
- 1/2 tsp ground cloves
- 2 1/2 sticks butter, at room temperature
- 1 1/2 C sugar
- 3 Tbsp molasses
- 2 tsp vanilla extract
- 4 eggs
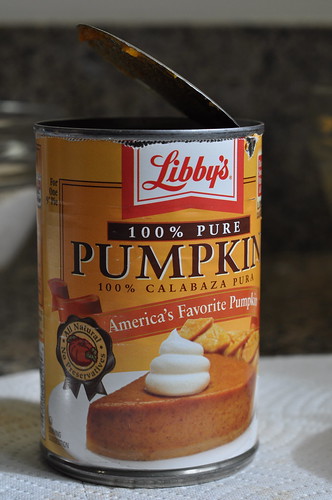
- 1 1/4 C pumpkin puree (one 15 oz can is a little bit more than you need)
- 1/2 C buttermilk
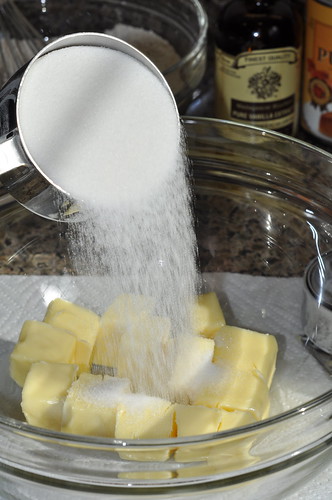
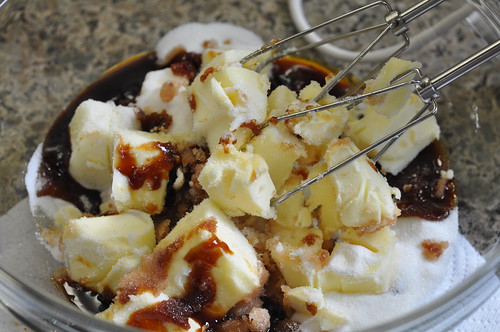
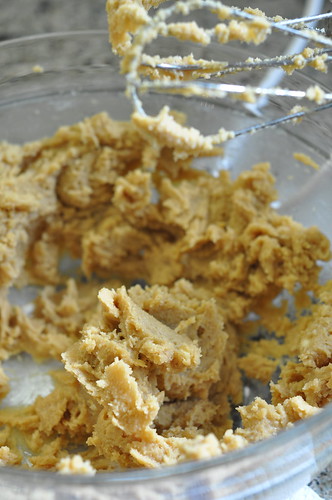
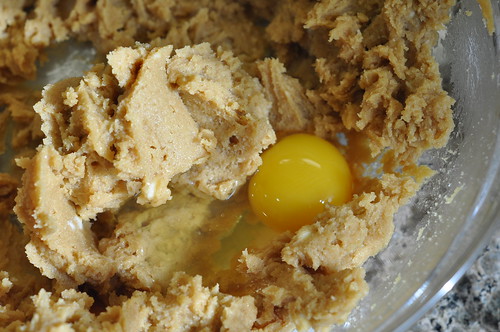
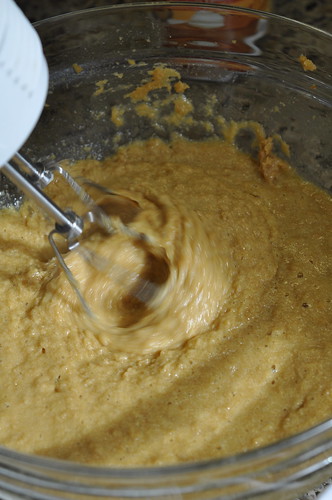
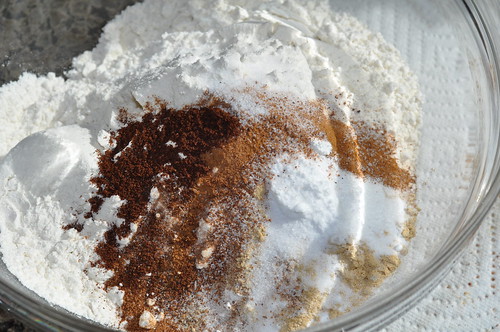
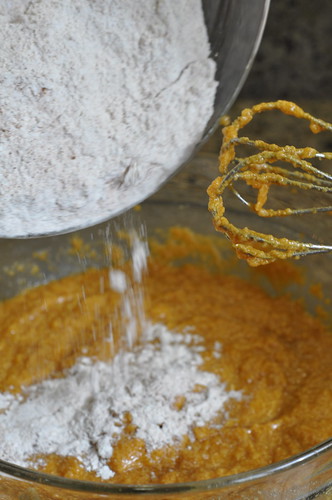
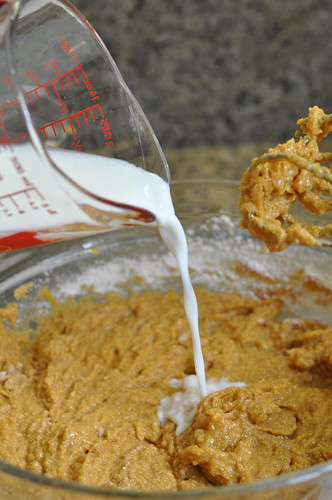
Preheat oven to 325. In a medium-sized bowl, thoroughly whisk together first 8 ingredients (flour through ground cloves). In a large bowl, use an electric mixer to beat together butter, sugar, molasses, and vanilla. Beat in eggs, one at a time. Beat in pumpkin. Beat in dry ingredients in 3 additions, alternating with buttermilk in 2 additions, until just combined.
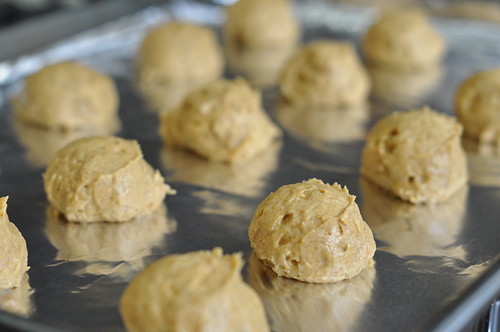
Line a baking sheet with parchment paper or aluminum foil and scoop with a #40 cookie scoop (or by rounded tablespoons) onto baking sheet, spacing about 2 inches apart. Bake until a toothpick inserted in the centers comes out clean, about 12 minutes.
Allow whoopies to cool on the baking sheet for a few minutes, then transfer to a rack.
Repeat with remaining dough. I recommend chilling the remaining dough in the fridge while the whoopies bake, and using a cooled baking sheet for each batch.
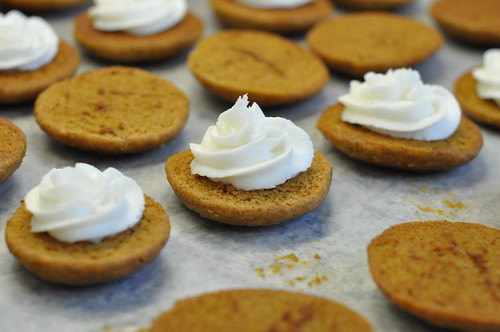
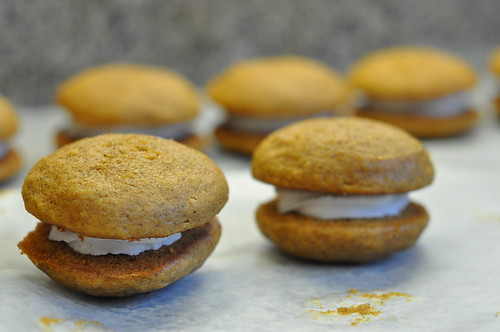
Spread or pipe half the whoopies with store-bought frosting or cream cheese frosting (recipe below), and top with the other half of the whoopies to form sandwiches.
CREAM CHEESE FROSTING
Adapted from the Joy of Cooking
- 8 oz cream cheese, cold
- 5 T unsalted butter, at room temperature
- 2 t vanilla
- 2 C powdered sugar, sifted {measure and then sift to get any lumps out}
Combine in a food processor and pulse until smooth and creamy. Do not overmix, as overbeating breaks down the cream cheese. If you don’t have a a food processor, you can do this with a hand mixer. Beat the first three ingredients just until blended, then add the sugar about 1/3 at a time, beating until smooth.
WHOOPIEEEE!
![]()

